X-Carve Router
Introduction
Spark Makerspace has an X-Carve CNC (computer numeric controlled) router for use by qualified members. Unlike most tools, all Spark instruction and documentation for the X-carve is in wiki format for easy reference. Certification classes are available for Spark members, and notifications of upcoming classes will be emailed out to the membership.
Tool Safety
As with all tools in the Spark Woodshop, safety is paramount.
- Wear proper personal protection equipment (safety glasses, hearing protection, respiratory protection)
- Keep loose clothing, hair, and jewelry away from the spindle motor
- Do not bypass any safety devices
- Keep hands out of the machine operating area anytime the e-stop is off
- If something is broken or breaks, notify one of the wood shop leads at woodshop@sparkmakerspace.org
X-Carve Basics
See also: X-Carve: Glossary
Spark has an X-Carve CNC machine with a 75cm x 75cm (29.5in x 29.5in) working area. The computer software used to control the machine is Easel, a cloud-based software. Spark members planning to use the X-Carve will need to sign up for an Easel account, which can be used to design programming for the X-Carve from any computer with internet access. Users can log into Easel from the computer in the woodshop to control the X-Carve.
X-Carve Capabilities
The X-Carve/Easel combination is capable of cutting and carving many kinds of wood and plastic, but not metal. Complex parts or surface engravings may be cut. However, the X-Carve/Easel combination is limited to making mostly flat cuts. Without additional software, users will not be able to do 3D surfacing operations. For more information, talk to one of the Woodshop Leads.
X-Carve Parts

- Emergency Stop (E-stop) - emergency shutoff for machine. To use, push down. To reset, twist clockwise and pull up.
- Machine controller - Translates between the computer and the motors driving the machine. Power switch is on the rear of the controller, next to the power cord.
- X-Axis - Gantry and drive motor for left and right movement
- Y-Axis - Rails and drive motors for forward and backwards movement
- Machine bed - a fairly flat surface, with a number of threaded holes for clamping. Should never come in contact with the cutter
- Router - the spindle motor for the X-carve. The top of the router has an on/off switch and speed controls, which are controlled by the operator, not the computer
- Collet and nut - holds the cutting tool. The collet should should always remain in the collet nut
- Cutting tool (“cutter”) - size, shape, and style will vary according to the material being cut
X-Carve Operation Flow Chart
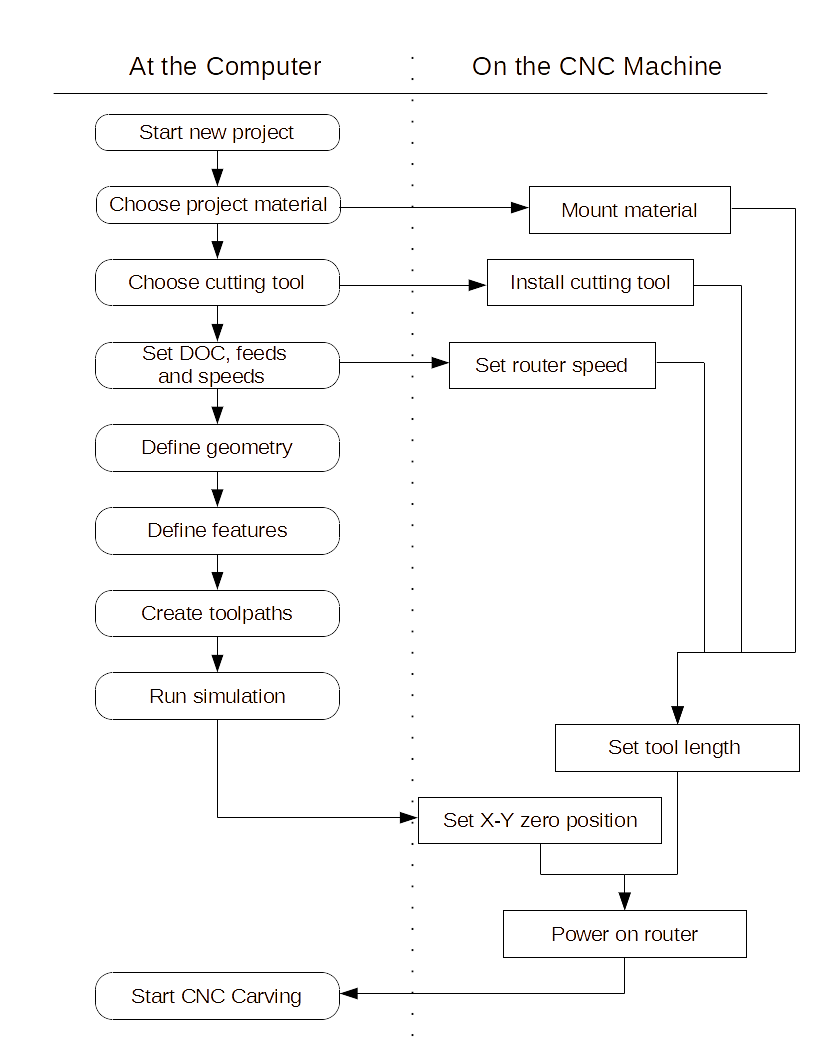
The X-Carve is the last step in an overall design process. A series of steps must happen before the machine is ready to cut.
As the first step towards CNC machining, the user must define their project in a digital vector format. For engineering purposes, this is often a CAD (computer aided design) file. For artistic purposes, this may be from a variety of two or three dimensional drawing or modeling softwares. This file will be used to define the geometry of the final workpiece.
The file is imported into a CAM (computer aided manufacture) software package. For Spark, the primary CAM package is the cloud-based Easel software, which is free to use. Users will work with the CAM software to establish features based on the geometry. Features include things like holes, profiles, pockets, bosses, or surfaces of the design. The size and format of these features will dictate which kind of cutting tool is chosen for the project.
The user will guide the CAM software in creating tool paths which define the exact motion of the cutting tool, including the rotational and linear speeds. Toolpath creation is nearly 100% automated in Easel. The toolpaths are exported as G-code, which is a language specific to CNC tools. The G-code is sent to the machine controller, which drives the motors moving the machine.
To help keep track of all the terms unique to CNC programming, the Spark Woodshop has put together a glossary of CNC terms.
X-Carve Example
The certification class for the X-Carve will use Easel software to carve a small plastic keychain. The class example part is a round tuit, for all those projects waiting for you to get one. The parts of the example are linked in the table below.
| Login to Easel and Start a New Project |
| Part 1: Creating Geometry and Features |
| Part 2: Setting Up the Machine |
| Part 3: Carving the Part |
X-Carve Baseline Configuration
- E-stop is pressed
- Router is powered off
- Computer and controller are left powered on
- Cutter is removed from the router spindle
- Collet and nut are removed from the router spindle, and put in the correct location on the CNC storage tray
- All clamp arms, clamp bases, and clamp screws are removed from the work table and put in the correct location on the CNC storage tray
- The machine and the area around it is cleaned of chips and debris
Examples
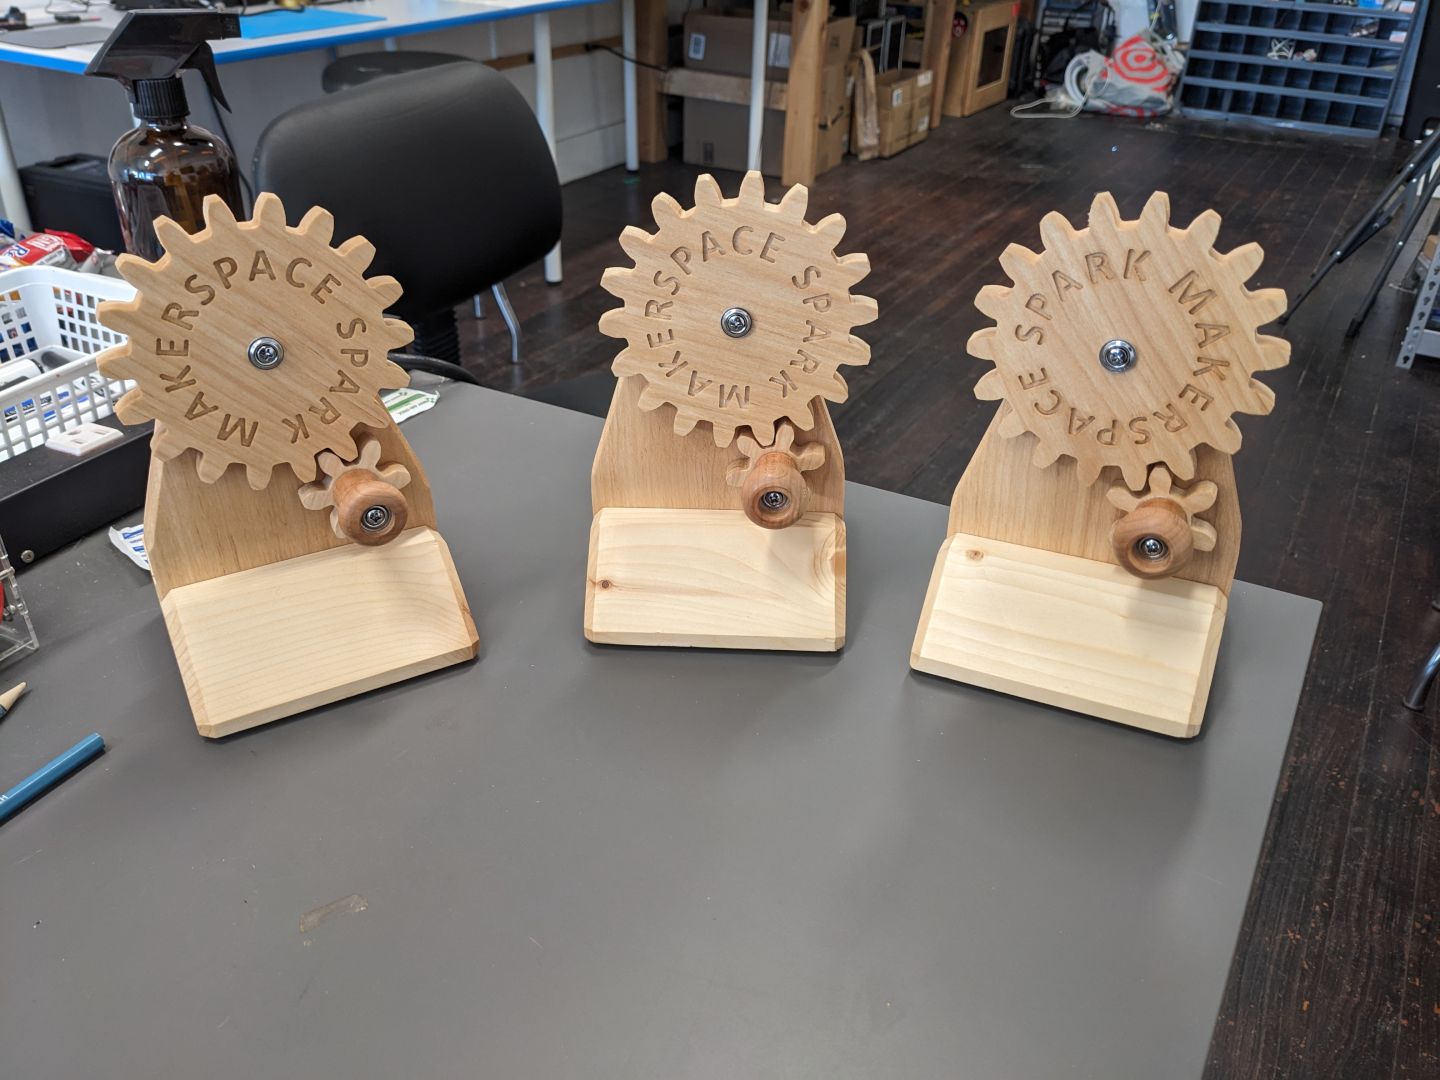
Award bases made on the X-Carve router
