X-Carve: Example Geometry
Jump to navigation
Jump to search
This tutorial will guide a new user through the basic steps of using the X-Carve Router. The project will be a small round tuit out of multi-color HDPE plastic.
Start A New Project
- If you haven't already, create an Easel account by following the steps on X-Carve: Easel page.
- Make sure to set up the Spark X-Carve in the new account
- Start a new project using the green button in the upper right of the Easel Start Screen
- Easel will bring you to the Easel Main Screen
Define Project Material
- The first step is to define the workpiece material. Start by clicking on the Materials button in the upper right corner of the Easel window.
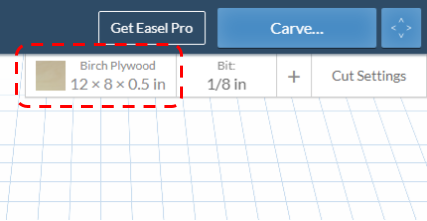
- A popup window will open, similar to the one shown below

|
|
|

.